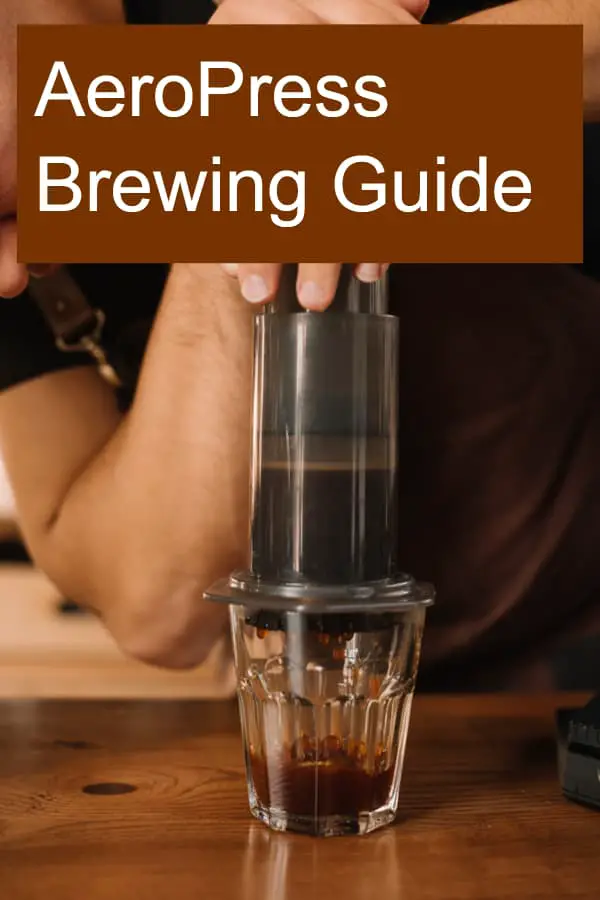
A recent addition to coffee brewing methods, AeroPress is giving other devices such as Drip coffee makers and the Fresh press a severe run for their money.
Whether you already own an AeroPress, thinking about buying one, or just looking to satisfy your coffee-driven curiosity, this guide is here to fully answer the question of how to make AeroPress coffee.
What is AeroPress Coffee?
Before you can turn on the barista mode and have a go at making AeroPress coffee, you should understand first what AeroPress coffee is and how it makes the coffee magic happen.
First of all, let’s talk about the manufacturer. AeroPress is a device used to brew coffee. The AeroPress brand is owned by a US company called Aerobie.
The president of Aerobie, Alan Alder, is the person who invented the AeroPress machine. Alan also happens to be the inventor of flying rings. This aerodynamic toy has been used twice to break the Guinness Book of World Records for the “longest throw of an object without any velocity-aiding features.”
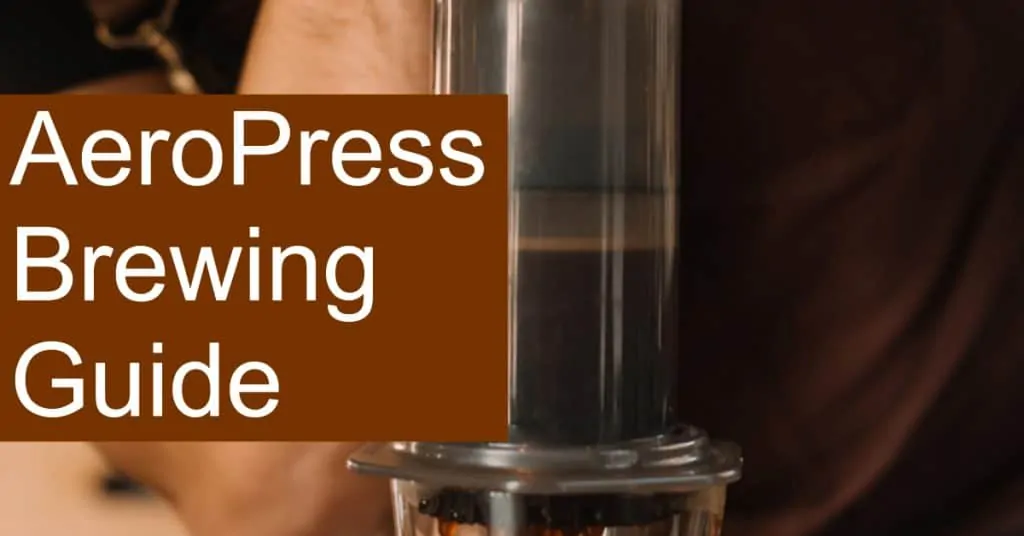
Anyway, taking a look at the AeroPress, you’ll probably notice that it looks like an oversized syringe. Yes, the one nurses and doctors stab patients with. However, this particular “syringe” is designed to give you coffee – so it gets a pass.
Inside an AeroPress machine, the coffee grounds are completely submerged in water during the brewing process. This is the key selling point of the AeroPress.
AeroPress vs. French Press
Now, if you’re a coffee aficionado, you may be wondering: isn’t that the same principle of French press?. Well, not really.
The main difference between the two methods is that the French press uses metal filters while the AeroPress uses paper filters. So what does this mean for coffee drinkers?
The use of paper filters allows you to finely grind the coffee, which means a higher surface area of the coffee will be exposed to the water during brewing. As a result, you’ll get a cup of coffee that’s smoother, more flavorful, and less bitter – all in a shorter time too!
Compared to the longer brewing duration of a French press, it often causes over-extraction on the surface of the grounds, producing coffee with a rich yet bitter taste.
Besides being fast, AeroPress is also portable, affordable, and clean because the filter involved in its mechanism prevents coffee sediment from settling in your cup – Flat vs Cone Coffee Filter
Moreover, since coffee residue is linked to bad cholesterol, some people believe that AeroPress produces healthier coffee.
What kind of coffee maker do you need to make AeroPress coffee?
To make AeroPress coffee, you’ll need -you guessed it- an AeroPress machine. What exactly is this device you ask? Well, here’s a simple breakdown.
As you read above, this coffee brewing gadget pretty much looks like a huge syringe. It consists of two nesting cylinders, where a cylinder with a flexible airtight seal fits inside a larger one. You could say that an AeroPress is a plastic plunger.
How long does coffee last? Find out here!
AeroPress looks notoriously unsexy, but it also comes with an equally odd-looking bunch of accessories that may feel a bit complicated at first glance. But don’t worry, they’re simple tools once you get familiar with them.
These accessories include:
- A cap for closing the end of the plunger
- A coffee scoop for measuring the grounds
- A paddle for stirring the contents
- A funnel to neatly load coffee grounds into the designed compartment
- Several filters to place in the cap
In addition to the accessories that come with an AeroPress machine, you’ll need a timer and hot water (just off the boil at around 205°F) to make AeroPress coffee. Oh, and of course, don’t forget your favorite coffee mug!
If you don’t already own an AeroPress and you’re in the market for one, you can easily find them on Amazon or local coffee shops. The AeroPress comes in a standard version and a portable version.
What are the steps in making AeroPress coffee?
Now that you know what AeroPress coffee is as well as what kind of coffee maker and tools you need to prepare it, it’s time to roll up your sleeves (at least mentally) and get to work!
The following are steps to guide you by making AeroPress coffee the most basic method – the traditional way one might say.
After that, we’ll be discussing an adaptation of this method, called the inverted process, which prolongs the steeping period of coffee in the chamber (in case you like your coffee even more robust).
That being said, on with the AeroPress brewing guide.
Step 1: Separate the Chamber and the Plunger
If you took the liberty to assemble your AeroPress to understand how the cylinders should be placed, you’d need to take them apart before you start.
The reason for this is that the larger cylinder, referred to as the chamber, is where you’ll put your coffee grounds.
So, it’s only logical to push the smaller cylinder, referred to as the plunger, out of the chamber to make room for the coffee.
Step 2: Setting Up the Tools
Like any good barista, you need to have all your tools ready for action at any point during the process. Imagine grinding the coffee and boiling the water, only to find out you’re out of filters!
So, it’s best to make sure that everything is available within a hand’s reach. This includes boiling the water, prepping your AeroPress, and grinding your coffee beans.
What water temperature is best to make AeroPress coffee?
Ideally, you want the water to reach a temperature somewhere between 195°F and 205°F. So, use an electric kettle to bring about seven ounces (200 grams) of water to a boil, then let it cool for a minute or so.
Some people particularly enjoy the taste of filtered water, but you can use whatever type of water you most prefer.
How do you prep the AeroPress?
To prep your AeroPress, the first thing you should do is insert a paper filter into the detachable plastic cap – Why are coffee filters bleached?
Next up, you want to use some of the hot water to wet and rinse the filter along with the cap. The purpose of this step is to help the filter better adhere to the cap, get rid of any paper flavor that may be lingering behind, and warm your brewing vessel up.
Keep in mind that this can be tricky to do this safely since the water is boiling, and the cap is rather small. To avoid burning, hold the cap by its ears (kind of like making a ‘C’ shape with your fingers around the lid) and pour the water slowly so that the filter can absorb it.
Alternatively, you can assemble your AeroPress with the filter cap, place it on top of a cup, and pour the hot water in to wet the filter.
Remember to heat your mug with some hot water while you’re at it.
What kind of coffee grind do you need?
You got the water and the device ready, but what about the actual coffee?
As a rule of thumb, you need about 3 or 4 tablespoons of beans to make 1 cup of coffee, depending on your preferred strength. That’s roughly two rounded AeroPress scoops or 18 grams of coffee beans.
Once you weigh out your beans, grind them until you achieve a texture as fine as table salt (or just a bit finer).
Step 3: Assemble the Unit
Proceed by removing the rinse water from the cap and the mug, then, start to assemble your AeroPress. Keep in mind that the unit should be as dry as possible because any moisture left behind can comprise the seal of the device.
Twist the filter cap and fasten it onto the chamber. Hold the chamber and stand it on a sturdy mug – the filter cap should be in contact with the cup.
Step 4: Add the Coffee
With the top of the chamber open, pour in your coffee grounds with a spoon or the provided scoop. Be careful not to spill coffee outside the AeroPress (no one wants to be stuck cleaning coffee grounds).
A more relaxed, mess-free approach would be using the included funnel or your coffee leader. Simply place the funnel over the opening of the chamber, add in the coffee, and remove the funnel when you’re done.
Don’t forget to shake the chamber to level the coffee gently.
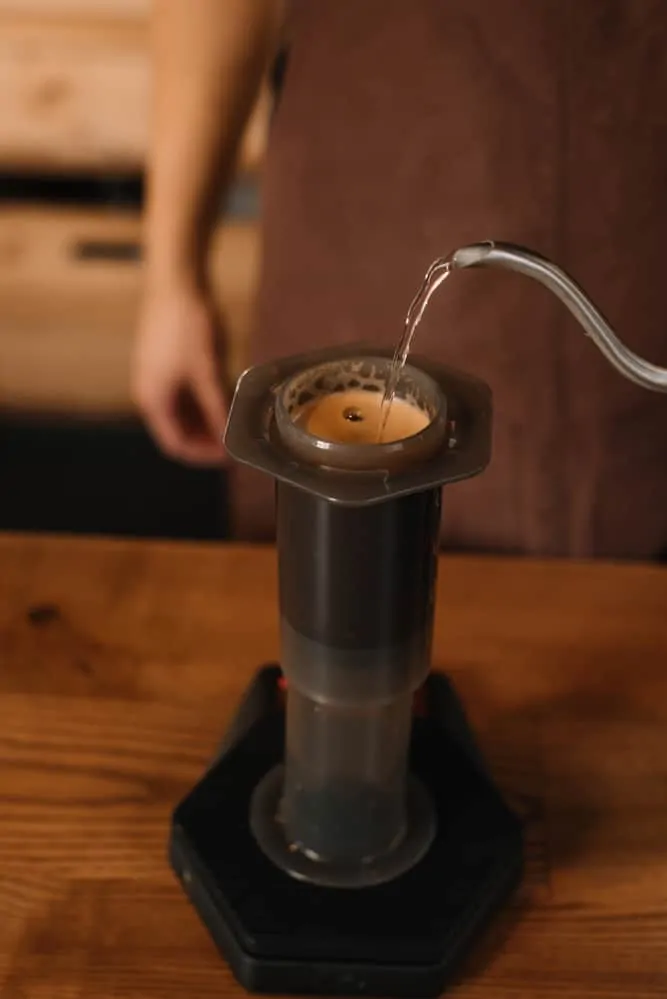
Step 5: Add the Water
You should pour the hot water into the AeroPress up to Level 1 on the chamber and make sure all the grounds are saturated within 10 seconds (you want to start your timer just when you add in the water).
- If you’re planning to make an espresso-style coffee, stick to adding water until Level 1 only. Skip the rest of this step.
Then, pour more water until it reaches Level 4. This is where you should use the included paddle or a spoon to stir the mixture once just to make sure it’s all saturated.
Step 6: Wait
Place the back plunger on the brewing chamber, pull it up slightly to form a pressure seal, and just wait. Don’t start plunging right away!
How long do you let the coffee steep?
For hot brewing, use water at a temperature between 175°F and 205°F. Let that steep for about a minute.
If you want to cold brew, use tap water instead and don’t go beyond Level 1. Let the coffee steep for 1 minute and then add more tap or ice water after you’re done plunging the coffee.
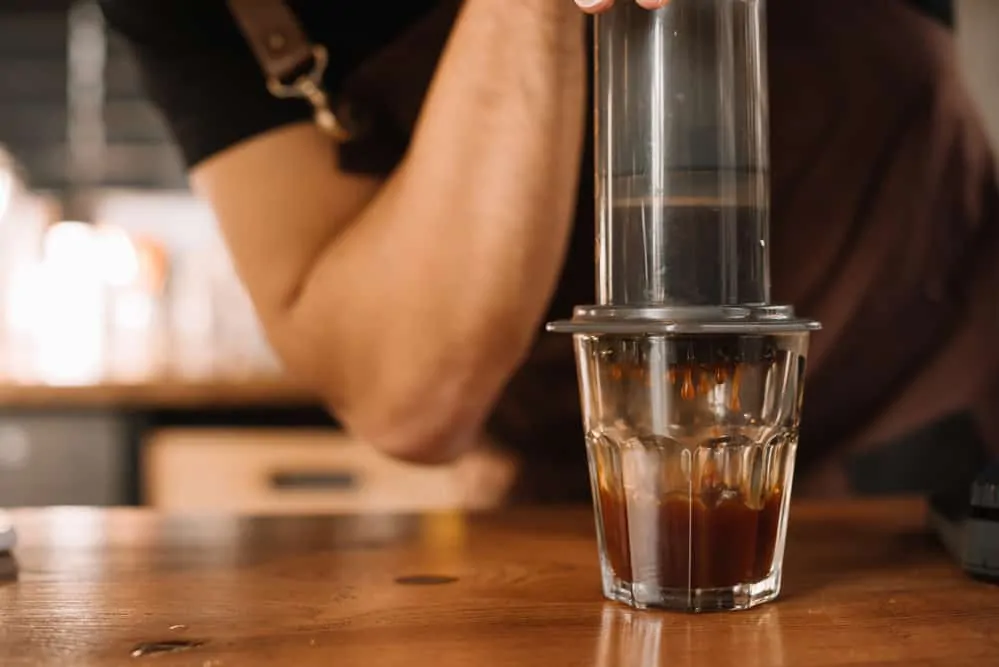
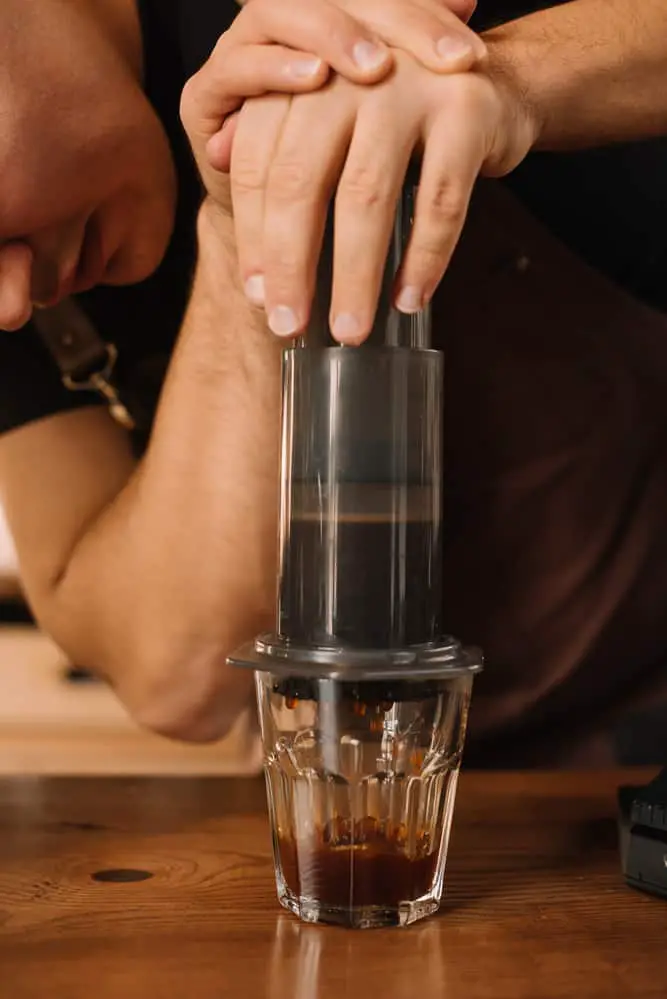
Step 7: Stir and Plunge
When the timer hits 1:15, remove the plunger and stir the mixture again. Insert the plunger back on and start to press down on it with steady force gently. As soon as you hear a hissing sound or feel resistance, pause your pressure.
Continue doing this until the plunger reaches the bottom. The entire brewing process of the AeroPress should take no more than 2 minutes.
Step 8: Clean Up for the Next Brew
After you’re done making AeroPress coffee, it’s always a good idea to clean up your tools. This will help prolong the device’s lifespan, and you won’t have to waste time cleaning stubborn residue the next time you feel like brewing a coffee cup.
How do you clean an Aeropress?
Cleaning an AeroPress is pretty simple despite the sophisticated vibes you may get from its design.
Start by taking off the chamber, then removing the filter cap. After that, push the plunger to pop out the used coffee grounds and throw them away along with the used filter.
Rinse the plunger, the chamber, and the cap using hot water. Voila, your AeroPress is ready for the next brew.
The Inverted Method
As promised earlier in the article, here’s a variation of the traditional method for those who prefer coffee even more robust.
In the inverted method, you’ll repeat the same steps up until the assembly portion. Instead of twisting the filter cap onto the chamber, you’ll just insert the plunger in the chamber then flip the unit upside down. Don’t put the lid on yet.
Put the funnel in the open side (where the cap is supposed to go) and pour your coffee grounds. Proceed to add hot water until you fill it almost all the way.
Stir the mixture once with the paddle or a spoon. Let it steep for 1 minute (you can adjust the time for future batches if this one turns out too weak or too strong).
Tightly twist the filter cap onto the chamber and quickly, but carefully, flip your AeroPress over a mug with the cap facing down. From here, follow the same stirring and pressing step.
Is AeroPress coffee strong?
After going through the process of making AeroPress coffee, it’s safe to say that AeroPress coffee can be as strong as you want it to be.
The traditional method produces a concentrated coffee (if you stop at Level 1). You can drink as-is for an espresso-style coffee or dilute it with water to mellow things down if you want to drink regularly Americano style coffee (or use milk to make a latte).
The inverted method can brew even more robust coffee, so it’s really up to you.
What if your AeroPress coffee is bitter?
Bitterness is a result of over-extraction. To eliminate this issue, try grinding your coffee a bit coarser or cut down the immersion time of the grounds and start plunging earlier.
Final Thoughts
There you go, a comprehensive guide on how to make AeroPress coffee.
As you can tell, this relatively new method doesn’t just brew coffee faster and more convenient. Still, it’s also quite versatile since you can use the produced coffee to make everything from rich espresso to refreshing iced coffee.