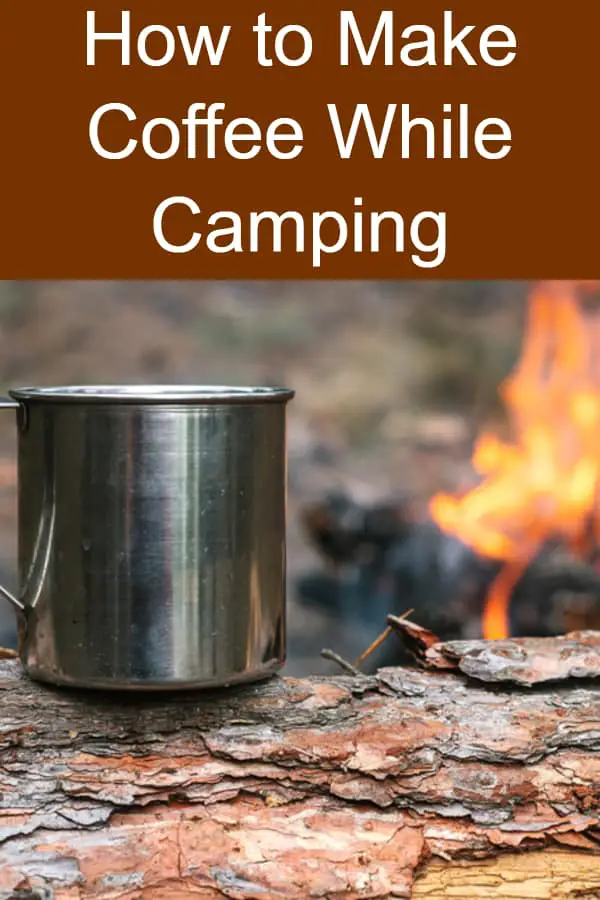
For many of us, a breeze of fresh air while camping in the morning might be a great way to start your day. However, add a cup of coffee to the scene and you’re automatically having a much better day!

The problem is, while you’re off-the-grid, you have no access to electricity. The good news is, this shouldn’t limit your coffee making options.
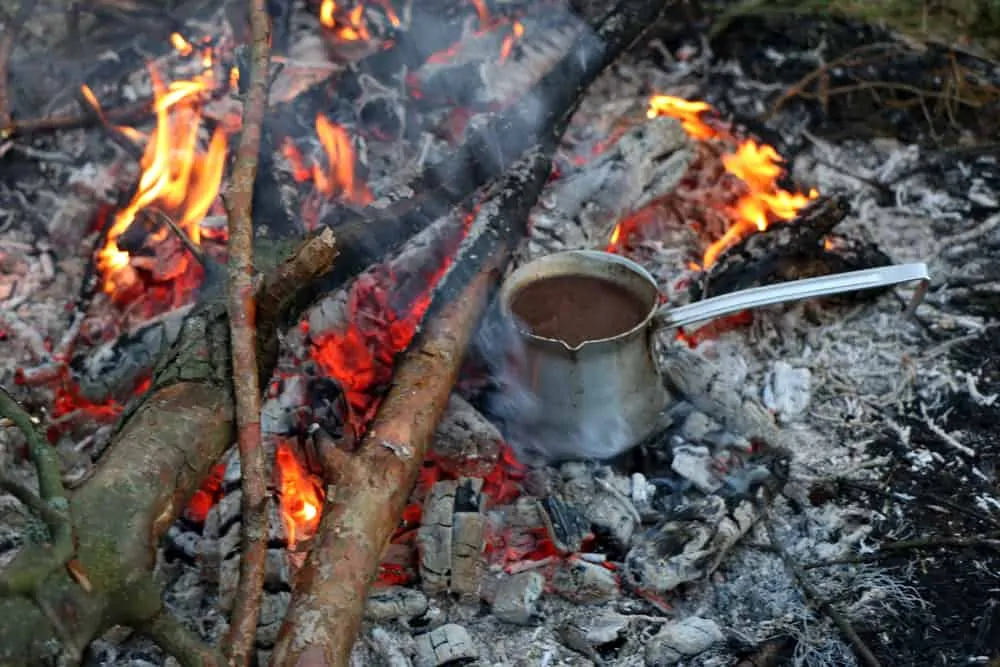
As long as you have a portable gas burner or a campfire ready, you can still enjoy excellent quality coffee. If you want to know how to make coffee while camping, you’re in for a treat!
In the following article, I’ll walk you through all the different methods and tools that you can use to make an excellent tasting cup of coffee while you’re outdoors!
Instant Coffee
Instant coffee has come a long way. With more and more people reverting to original coffee for real taste and experience, a lot of brands have worked on the taste profile of their instant coffee.
Currently, there are many instant coffee options on the market that have a remarkable taste, which was one of the major drawbacks of instant coffee. Apart from that, instant coffee should be a perfect camping companion.
They’re available in the form of small packets that are easy to pack and won’t weigh you down or take a huge space. That’s why they’re ideal for backpackers and one-day campers.
Here are some of the best tasting instant coffee around:
- Waka Coffee
- Eight O’Clock Coffee Flavors of America Ground Coffee
- Mount Hagen Organic Instant Regular Coffee
Preparation Method
It goes without saying that instant coffee was designed to be the easiest brewing method that requires no tools or skill.
Generally, all instant coffee dissolves completely with almost no residue. You only need to empty the content of the packet into your cup and add some hot to boiling water and you’re good to go!
Cowboy Coffee
Cowboy coffee has a reputation for being one of the easiest ways to make coffee when you’re low on coffee-making gear.
The method has earned its name from all the herders and cowboys who used this method to enjoy quality coffee while on the go. Any kind of regular coffee grounds will do, so you can choose your favorite.
Cowboy coffee takes about 4 to 5 minutes in total. You’ll only need a kettle, heat source, and of course, a cowboy hat for guaranteed awesomeness.
Preparation Method
Making cowboy coffee is fairly simple. However, there are many ways to do it. The original method used eggshells along with the boiling coffee brew. If you boil the eggshells long enough, you won’t have to worry about salmonella.
Yet, if you don’t like this method, you can try other methods. Here’s the ‘sink-down’ method:
- Fill the kettle with water and bring it to a boil
- Remove the kettle from heat and wait 30 seconds
- Add coffee grounds and stir (you usually hear some sizzling here)
- Return back to low heat
- Once the coffee sinks down, take it off the heat
- Pour the coffee carefully to keep the grounds out
- If it doesn’t sink down add a spoonful of cold water
There’s also the ‘top-skimming’ method, where you scoop the coffee grounds with a spoon instead of waiting for them to sink in.
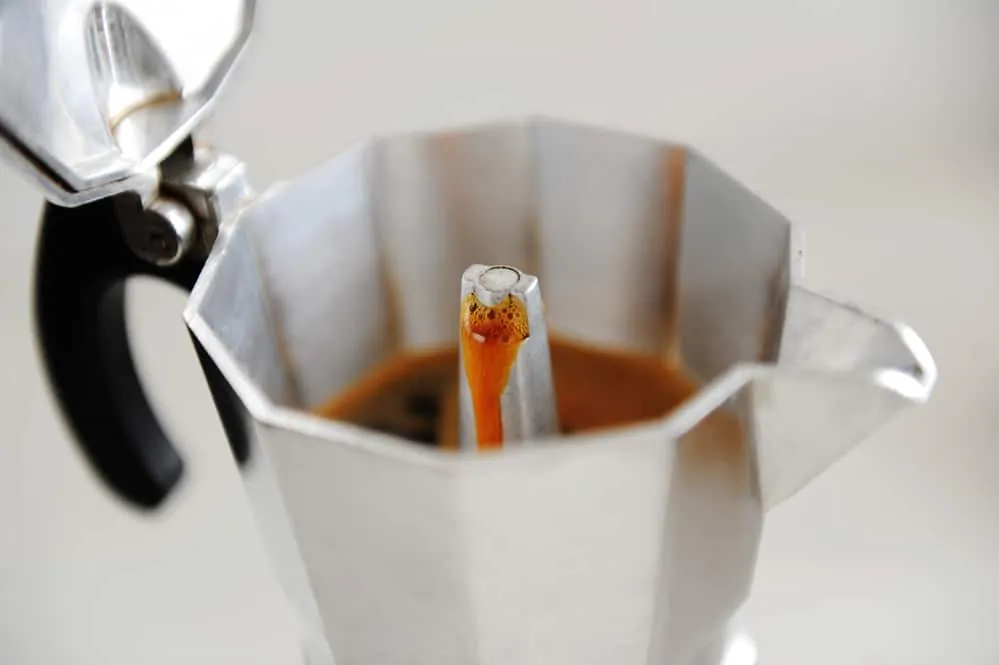
Moka Pot (Stovetop Espresso Maker)
Going out camping doesn’t mean you can’t enjoy some specialty coffee. A stovetop espresso maker is a great way to enjoy some concentrated coffee with a strong flavor profile.
Moka pots are made of three main compartments; you have a serving carafe at the top and a water reservoir at the bottom.
It’s designed with a built-in metal filter basket in the middle, so you don’t have to worry about the filtering process.
You should also know that the quality of the Moka pot is crucial here, so you have to pick a good one. I recommend Bialetti Express Moka Pot or GROSCHE Milano for that task.
Preparation Method
- Unscrew the Moka pot
- Add water to the bottom reservoir
- Pack the coffee till above the halfway mark in the filter compartment
- Screw it back and place it over a stove
- Once you heat popping take it off the stove and serve immediately

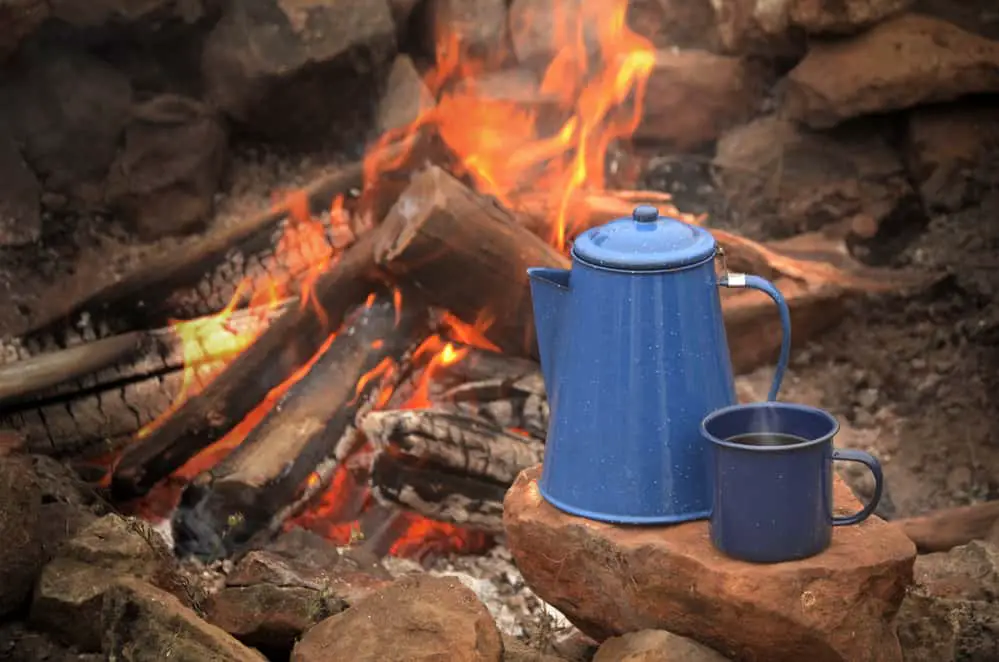
Percolator
If you want to kick the cowboy coffee’s taste up a notch with a limited amount of tools, you should try the good old fashioned percolators. It’s also ideal if you’re camping in a large group.
A percolator has an aluminum tube that runs up that ends with a metal basket, where you pack your coffee grounds.
As the water heats up, it pushes the tube and infuses the coffee grounds. After that, it returns back to the pot as a brewed coffee where you can pour it. This method provides a relatively concentrated coffee that tastes great as well!
Percolators are highly affordable too. Here are the best ones to go for:
- GSI Outdoors Glacier Stainless Steel Percolator
- Farberware Yosemite Stainless Steel Coffee Percolator
Preparation Method
- Open the lid and take out the basket
- Fill it with coffee grounds
- Fill the percolator with water
- Put the percolator back together and bring it to a boil
- Let the popping sound continues for about 5 minutes
- Serve and enjoy!
Coffee in a Bag
If you’re a fan of instant coffee’s simplicity but you want some more special, why not try a coffee in a bag?
It might sound like an exclusive thing for teas, and it was. But recently, a lot of brands tried the idea out and it worked like charm!
The method is ideal for true light packers. With coffee bags, you only need hot water to get yourself a delicious cup of coffee.
Here are some of the new coffee bag options that you can find out there:
- Folgers Coffee Singles Classic Roast Coffee Bags (the first brand to make them)
- Steeped Coffee Single-Serve Packs
- CrownCode Coffee Single Serve Bags
Preparation Method
As you might’ve expected, preparing a cup of coffee with a coffee bag method is as simple as it gets.
The method is exactly the same one you follow with a teabag. Place a bag or two of coffee grounds into your mug then pour some hot to boiling water.
Start steeping the bag(s) until you reach the desired color and strength of your liking and enjoy!
Camping Drip Coffee Maker
This method is extremely similar to the coffee you get from your regular drip coffee machine in your house. However, this one uses camping stove burners instead of electricity – Drip coffee maker vs percolator.
Coleman Camping Coffee Maker is one of the best options to go for in that situation. You can also use it to prepare hot chocolate, making it ideal if you have children around!
Preparation Method
Similar to your regular coffee maker, you’ll need to fill the reservoir with water first. After that you’ll add ground coffee in the filter basket; exactly like you do with your drip machine. Turn on the camping stove and give your coffee 10 minutes to be ready.

Single-Serve Pour-Over Coffee
If you can do without pour-over coffee, modern technology has got you covered. Even in the heart of the wilderness!
Pour over is known for being one of the easiest techniques back in everyone’s kitchen. However, it might be difficult to replicate the process while out camping.
Recently, single-serve pour-over coffee bags have been out and they’re becoming a huge trend among campers. What’s great about them is that they don’t leave a lot of mess behind. They’re ideal for anyone who loves the simplicity of instant coffee but isn’t keen on their taste.
Here are some of the best options:
Preparation Method
Single-serve pour-over bags are available as paper pouches with ground coffee inside. Simply unfold the pouch over your cup and pour boiling water over it. Remove the pouch and you’re good to go!
Cheesecloth as Coffee Filter
As you already know, cowboy coffee is popular for its versatility. From eggshells to clean socks, a lot of people improvised using different items while brewing coffee outdoors.
However, the one that I’ve found the most fascinating was the cheesecloth method. For this method, you’ll need a cotton cheesecloth and some durable rubber bands or a bandana. To spice things up you can even add cinnamon to your coffee!
Preparation Method
- Place the cheesecloth over the top of the cup
- Hold the cup with one hand and press the cheesecloth down the cup with the other
- Secure the cloth with rubber bands around the cup
- Add two or three tablespoons of coffee grounds into the cup with the filter
- prepare 190° F water over the coffee grounds (boil and leave it for 15 to 20 seconds)
- Add a small amount of water to barely cover the grounds
- After a minute, slowly add the rest of the water to fill the cup
- Remove the rubber band and cloth
- Drink instantly and enjoy
French Press
Surprisingly enough, French Press coffee is an available option while camping. Technically, if you carry a durable French Press around, you shouldn’t have any problem making coffee using them.
Stainless steel French Presses are the best for outdoor adventures, so you can enjoy the unique coffee method anywhere. You can also use plastic but you need to make sure that its BPA-free for your own safety, such as OXO Plastic French Press
Preparation Method
- Add one or two tablespoons of coarse-ground coffee for every cup in the French Press
- Add freshly boiled water to cover the ground and let it rest for 1 minute]
- Pour the rest of the water into the French Press
- Let it steep (ideally for 3 more minutes)
- Gently use the plunger to press the coffee all the way
- Decant, serve, and enjoy!
Collapsible Pour-Over Filters
If you don’t fancy the ready-made ones! Here are some pour-over filter ideas
Silicone Pour Over
Instead of regular cone filters that take some space, you can use a collapsible silicone one.
Silicone pour-over cones work exactly the same as regular ones but they’re great for saving huge space.
They also don’t break, so you won’t have to worry about them in harsh natural conditions. Moreover, silicone doesn’t leach, so it won’t have an after taste in your coffee. To use them, you pop them out, add coffee filters (Basket vs Cone Filter), and use them exactly like a regular cone filter.
One-Cup Filter
Remember the cheesecloth method? Despite being a great method, it’s a bit complicated and takes a long time.
Luckily, you can replace it with a ready-made one-cup filter. This one works exactly the same by using a reusable mesh filter to prepare a single cup at a time.
You put this filter over your cup and follow the regular pour-over method. Similar to the cheesecloth method, you can squeeze the remaining liquid out of the mesh back for more concentrated coffee.
Pour-Over Stand
The regular pour-over stand is made of stainless steel or ceramic. They’re great for sturdiness but they would weigh you down while camping, let alone all the space it takes in your backpack.
If you’re a true fan of pour-over coffee, you can enjoy a simplified version of the stand that’s made of lighter materials for portability and ease of access. Here are some good examples:
- GSI Outdoors JavaDrip for Portable Drip Coffee System
- GSI Outdoors Ultralight Java Drip for Drip Coffee

Submersible Filter Cup
Submersible filter cups are among the best tools to bring along if you don’t want to waste a lot of time cleaning up the mess.
These filter cups have a similar structure to the regular reusable coffee filters. They’re good for both tea and coffee, saving space for those who like a wide variety of hot beverages.
However, these ones have a lid to prevent coffee grounds from escaping from the top while submerging in your mug. Also, they have small tabs that rest on the cup for easy removal.
They’re also reusable and easy to clean, so you won’t have to worry about that. The only drawback is that they might take a large space in your backpack. So, they’re usually better for week-long campers.
Preparation Methods
- Simply fill the filter cup with coffee grounds and cover it with the lid
- Rest it on your mug using the tabs
- Pour some hot water slowly to cover the coffee grounds
- Let it brew for 1 minute
- Gently add the rest of water to fill the cup
- Remove the filter for a ready cup of coffee
AeroPress
AeroPress is ideal for group camping, as it makes multiple servings at once. Also, it’s one of the easiest methods to clean up.
The only downside is that it takes a lot of space due to its accessories. However, this shouldn’t be a problem when camping with a group.
Preparation Method
- Insert a filter into the bottom cap and secure it tightly
- Add to spoons of espresso fine ground coffee into the chamber
- Add hot water (190° F) into the chamber
- Stir the grounds in water using the paddle
- Install the plunger and gently press down all the way
- Serve and enjoy!
Pour-Over Travel Mug
Another innovative idea to make the easiest cup of coffee without any hassle is the pour-over travel mug. Travel mugs are vacuum insulated, so they stay warm for a long time.
Coffee Gator Pour-Over Coffee Travel Mug is an ideal recommendation because it’s also compact, making it great for camping trips.
Preparation Method
Despite looking complicated at first, you’ll be surprised to know how easy it is. Here’s how you can prepare pour-over coffee with this travel mug:
- Place the accessory filter over the travel mug.
- Add one or two tablespoons of medium-grind coffee grounds into the filter (White or brown coffee filters?)
- Boil water and let it cool for 20 seconds (190° F)
- Cover the grounds with some water and let it brew for a minute
- Add the rest of the water to fill the cup slowly, so you don’t overflow the filter
- Remove the accessory filter (you can wash and pack it)
- Drink immediately or cover it with the insulating lid to drink it whenever you want
Hand-Powered Espresso Maker
If you don’t have a battery or a source of electricity, you don’t have to wait for your espresso shot.
The new portable espresso makers will allow you to enjoy espresso shots wherever and whenever you want without using complex machines.
They’re available in many forms and styles. However, the two styles that worked best for me was:
Similar to regular espresso machines, these manual espresso makers require finely ground dark roast coffee
Preparation Method
While they might differ in design, all manual espresso makers work in the same way. As a result, the instructions shouldn’t be too far from the following method:
- Pack the finely ground dark roast coffee in its designated chamber
- Add hot to boiling water in its chamber
- Unlock and press the pump several times to build pressure inside the espresso maker
- The pressure will push steam through the coffee grounds like normal espresso makers
- Serve and enjoy!
Final Thoughts
With that said you have tons of ideas on how to make coffee while camping. As you can see, you don’t need electricity to enjoy a premium cup of coffee.
Among these methods, some are ideal for groups and heavy packers, while others are better for single-day trips.
As a result, choosing the ideal one for you should depend on multiple aspects, such as storage space and ease of use.